Perfect Pizza Dough: How Long Should It Rest at Room Temperature?
Pizza dough is the foundation of a great pizza, and achieving the perfect crust begins with proper dough preparation. One crucial step in this process is allowing the dough to rest at room temperature. In this guide, we’ll delve into how long pizza dough should rest and provide valuable insights to help you make the best pizza ever.
What is Dough Resting?
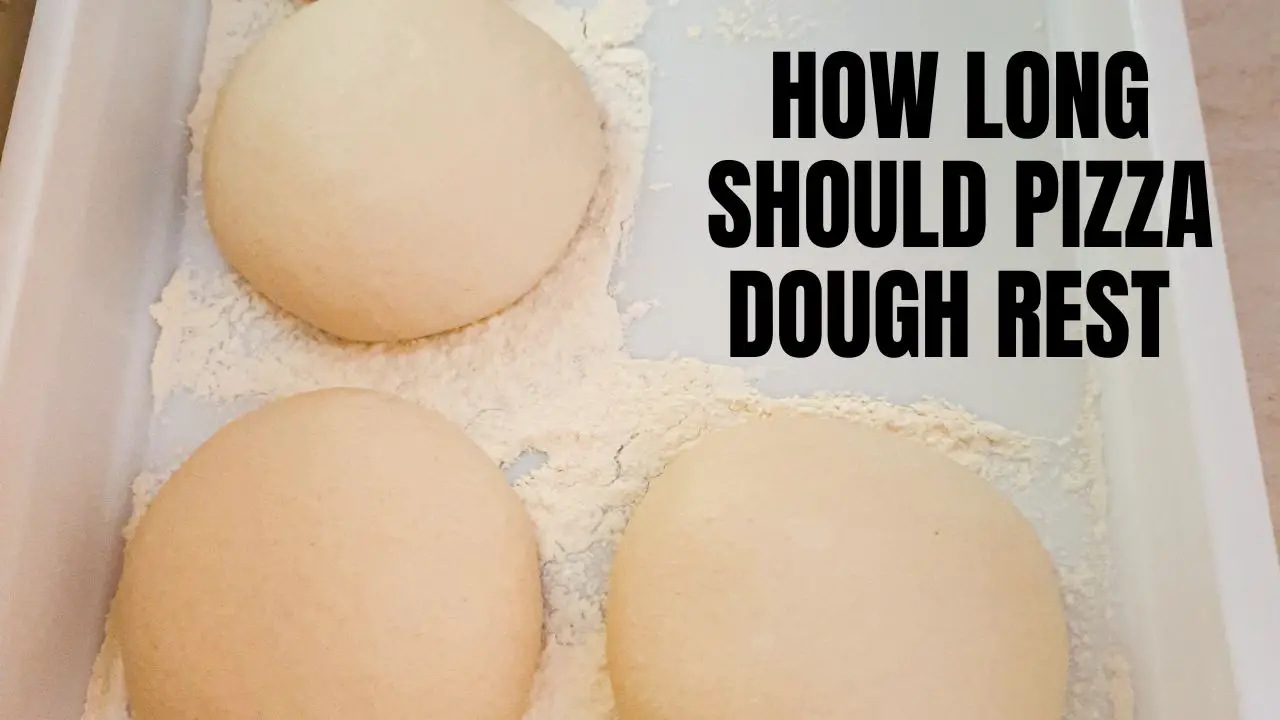
Dough resting is the period during which pizza dough is allowed to sit at room temperature after initial mixing and kneading. This resting time is essential for the dough to relax and develop its desired texture and flavor.
Importance of Dough Resting
Resting dough is not a mere formality; it plays a significant role in the final outcome of your pizza. During this phase, the dough undergoes fermentation, which enhances its flavor profile and makes it easier to work with when shaping your pizza.
Factors Affecting Dough Resting
Common Dough Resting Mistakes
When creating delectable baked goods, mastering dough preparation is crucial. The process of dough resting, often underestimated, plays a pivotal role in determining the final texture, flavor, and structure of your baked delights. While allowing dough to rest may seem straightforward, several common mistakes can hinder your culinary endeavors. This article will delve into these pitfalls and offer insightful solutions to ensure your dough resting experiences yield exceptional results.
Rushing the Rest
One of novice bakers’ most prevalent mistakes is rushing the dough resting process. Patience is a virtue when it comes to baking, and allowing the dough sufficient time to rest aids in the development of gluten, resulting in a more elastic and pliable dough. Avoid cutting corners and instead embrace the gradual transformation during resting.
Neglecting Proper Covering
Imagine leaving your dough exposed to the elements – the consequences are far from ideal. Failing to cover your dough adequately can lead to undesirable dryness or the formation of an unsightly crust. A simple yet effective remedy is to use a damp cloth or plastic wrap to create a protective barrier that preserves the dough’s moisture, ensuring a soft and malleable texture.
Improper Resting Environment
The environment in which your dough rests plays a pivotal role in its development. Yeast-based dough, for instance, thrives in a warm and slightly humid environment, fostering optimal fermentation. On the other hand, colder temperatures can slow down the fermentation process, affecting both taste and texture. Choosing an appropriate resting spot that aligns with your dough’s requirements is essential for achieving bakery-worthy results.
Tips for Perfect Dough Resting
Elevating your dough resting game requires attention to detail and a commitment to the craft. Here are some invaluable tips that will guide you toward perfecting the art of dough resting and unleashing your baking prowess:

Explore Variability in Resting Times
Different types of dough demand different resting durations. While some doughs benefit from a short, 15-minute rest, others thrive when allowed to rest for hours. Embrace the variability and be attuned to the specific needs of your dough recipe. This flexibility ensures that the dough’s unique characteristics are preserved, resulting in baked goods that truly stand out.
Experiment with Pre- and Post-Rest Techniques
Incorporating various techniques before and after resting can significantly influence your baked goods’ final outcome. Consider experimenting with folding and shaping your dough before its initial rest, or opt for a second rest after shaping to enhance flavor complexity. These techniques contribute to better gluten development and improved texture.
Ideal Resting Times
Understanding the optimal resting times for different types of dough is akin to deciphering a delicious code. Let’s delve into some general guidelines that shed light on the intricate relationship between dough resting and the resulting baked masterpieces:
Short Rests: 15-30 Minutes
A short rest of 15 to 30 minutes can yield remarkable results for lean doughs or those with minimal fat content. During this brief interval, the gluten relaxes, making the dough easier to work with and resulting in a more uniform crumb structure.
Extended Rests: 1-2 Hours
Rich doughs, which typically contain higher levels of fat, sugar, and eggs, benefit from extended resting periods of 1 to 2 hours. This allows ample time for flavor development, enhanced fermentation, and the creation of a tender and flavorful end product.
Overnight Rests
Consider allowing your dough to rest overnight in the refrigerator for an unparalleled depth of flavor and aroma. This technique, commonly used for artisan breads, permits the slow fermentation process to work its magic, resulting in a tangy and complex taste profile.
Wrapping Up
Mastering the art of pizza dough resting is a key step toward creating the perfect pizza. By understanding the factors that influence resting times, following our recommendations, and avoiding common mistakes, you’ll be well on your way to crafting pizza crust perfection. Experiment with resting times to suit your taste, and savor the delicious results in every bite of your homemade pizza.


