Discover the Secret On How to Build A Brick Pizza Oven
Pizza lovers rejoice! There’s nothing quite like the taste of a freshly baked pizza, and what better way to enjoy it than by making it in your own backyard? Building a brick pizza oven is a fun and rewarding project that will not only provide you with delicious homemade pizza but also add a unique touch to your outdoor living space. Whether you’re a DIY enthusiast or a seasoned handyman, building a brick pizza oven is a project that’s worth the time and effort. In this blog, we’ll explore the steps and considerations involved in building a brick pizza oven that will have your taste buds dancing with joy. So grab a slice of your favorite pizza and read on to discover the secrets of building a great brick pizza oven.
Pizza is one of the most popular dishes worldwide, and it’s easy to see why. The combination of savory toppings melted cheese, and crispy crust is simply irresistible. Amazing recipe for Digiorno Pizza . While you can always order pizza from your favorite delivery place, there’s something special about making it from scratch. And what better way to do that than in your very own brick pizza oven?Building a brick pizza oven may seem like a daunting task, but with the right guidance, it can be a fun and rewarding project. In this article, we’ll guide you through the steps of building your very own brick pizza oven.

Step 1: Choose the Location
The first step in building a brick pizza oven is to choose the location. You’ll want to select a spot that is level and away from any flammable materials. Make sure you have enough space to move around the oven and access it from all sides. It’s also important to make sure the location is near an electrical outlet, as you’ll need power for lighting and other equipment.
Step 2: Gather Materials
Once you have selected the location for your brick pizza oven, it’s time to gather the materials. You’ll need firebricks, refractory cement, sand, and various tools. You can purchase these materials from a local home improvement store or online.
Step 3: Build the Base
The base of the pizza oven is the foundation for the entire structure. You can build the base using bricks, cinder blocks, or concrete. Ensure the base is level and stable. This will prevent the pizza oven from shifting or collapsing over time.
Step 4: Prepare the Oven Floor
The oven floor is where the pizza will be placed to cook. You’ll want to use firebricks for the oven floor as they are able to withstand high temperatures. Arrange the firebricks in a circular pattern on the base, leaving a small gap between each brick for expansion.
Step 5: Build the Dome
The dome is the most important part of the pizza oven. It is what will heat up and cook the pizza. You’ll want to use refractory cement to build the dome. Mix the cement as per the manufacturer’s instructions and start building the dome from the back, working your way forward. Be sure to leave a small opening at the front of the dome to serve as the oven door. The dome should be about 18 inches in diameter and 12 inches high.
Step 6: Add Insulation
To keep the heat inside the oven, you’ll need to add insulation. This can be done by adding a layer of refractory insulation blanket over the dome. You can also add a layer of perlite or vermiculite mixed with cement to add extra insulation.
Step 7: Finish the Oven
Once the insulation is in place, you can add the finishing touches to the oven. You can add a chimney at the back of the oven to vent out smoke and heat. You can also add a decorative finish by using tiles or bricks.
Step 8: Fire Up the Oven
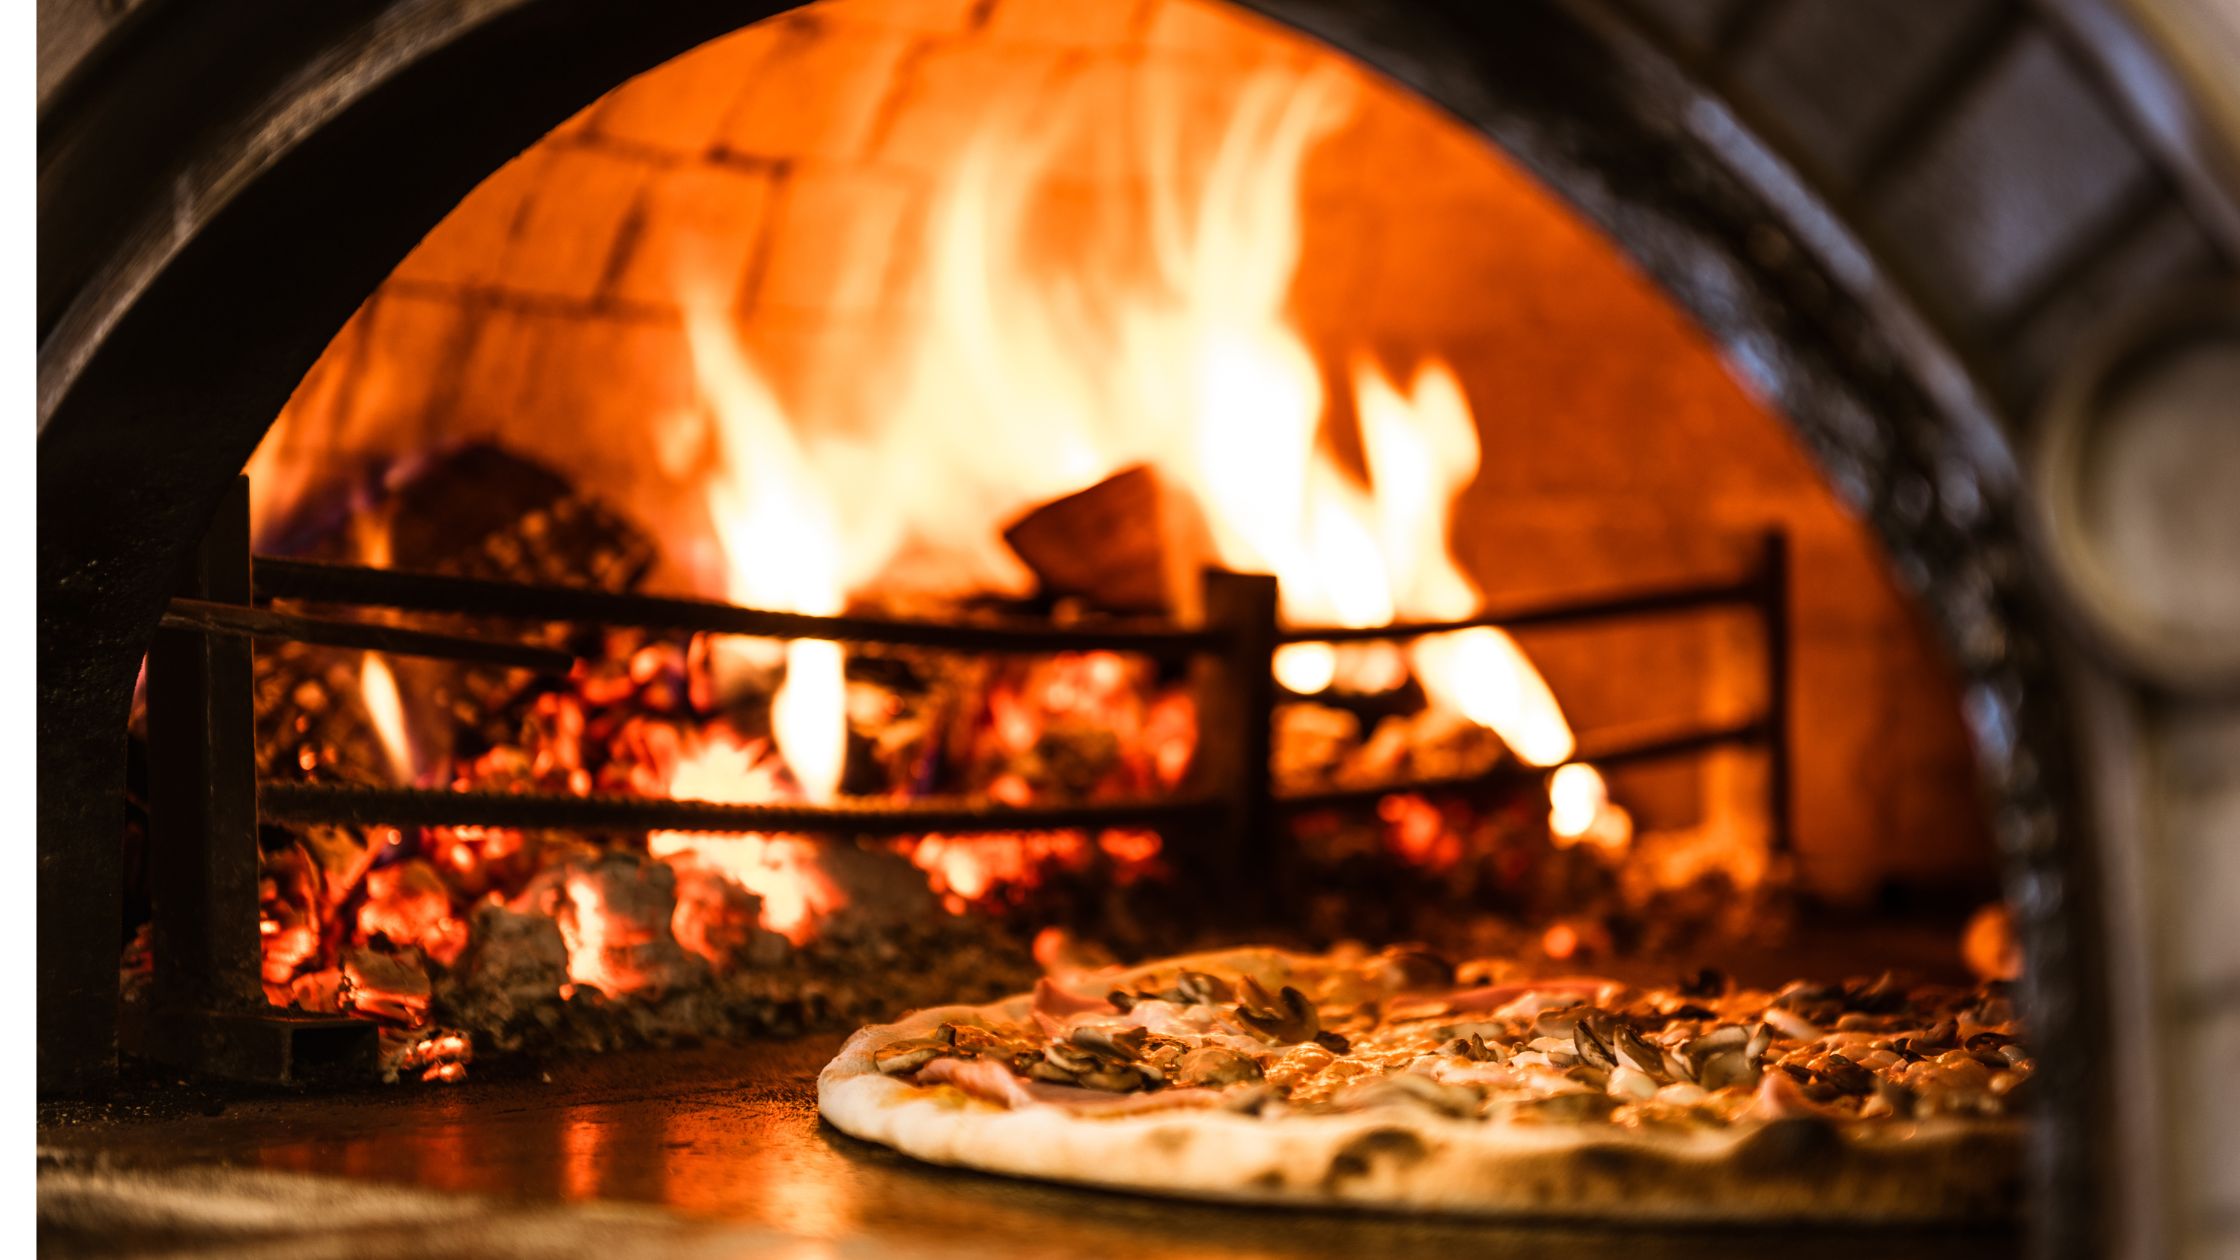
Before you can start cooking pizza in your new oven, you’ll need to fire it up. Begin by igniting a small flame within the oven and steadily augment the size of the fire for numerous hours. This will cure the oven and remove any moisture from the materials.
After the oven has been properly treated, you can begin preparing scrumptious pizzas. All you need to do is put the pizza on the oven base and turn it regularly to guarantee uniform cooking.
FAQs
Wrapping Up
In conclusion, building your own brick pizza oven can be a fun and rewarding project that results in delicious homemade pizzas for years to come. While it may seem daunting, with careful planning and attention to detail, anyone can successfully build their own oven. Remember to follow safety guidelines and seek professional help if needed. With patience and persistence, your brick pizza oven will become a centerpiece of your backyard gatherings and a source of pride for years to come